 Zoomed to minimumUse the plus and minus key to zoom and the arrow keys to pan
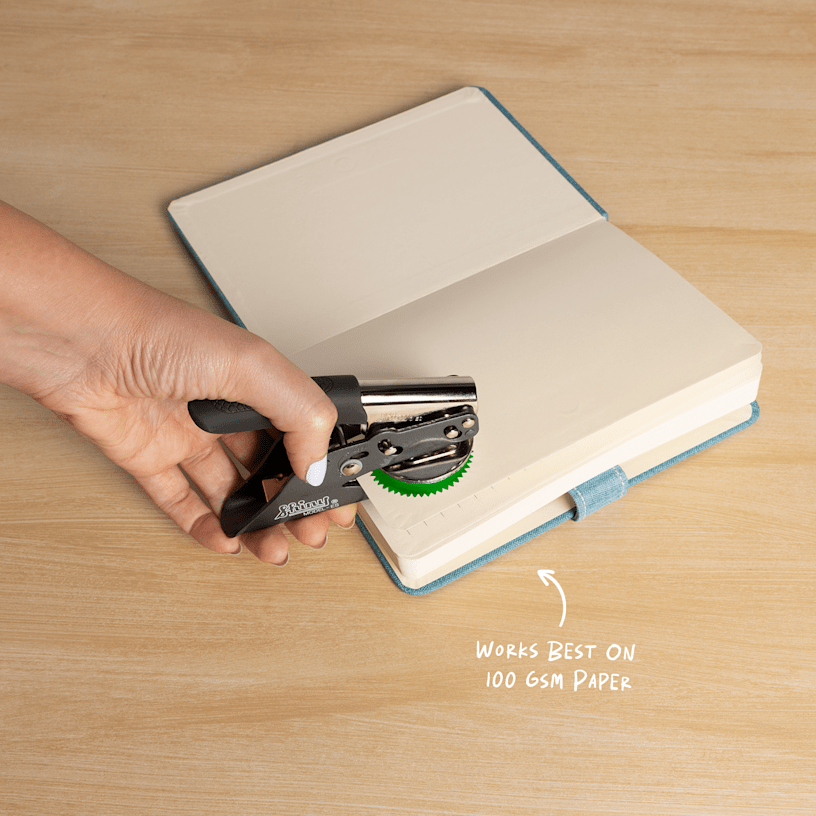

Embosser Stamps
Press, seal and impress with custom embosser stamps.
- 40 mm size
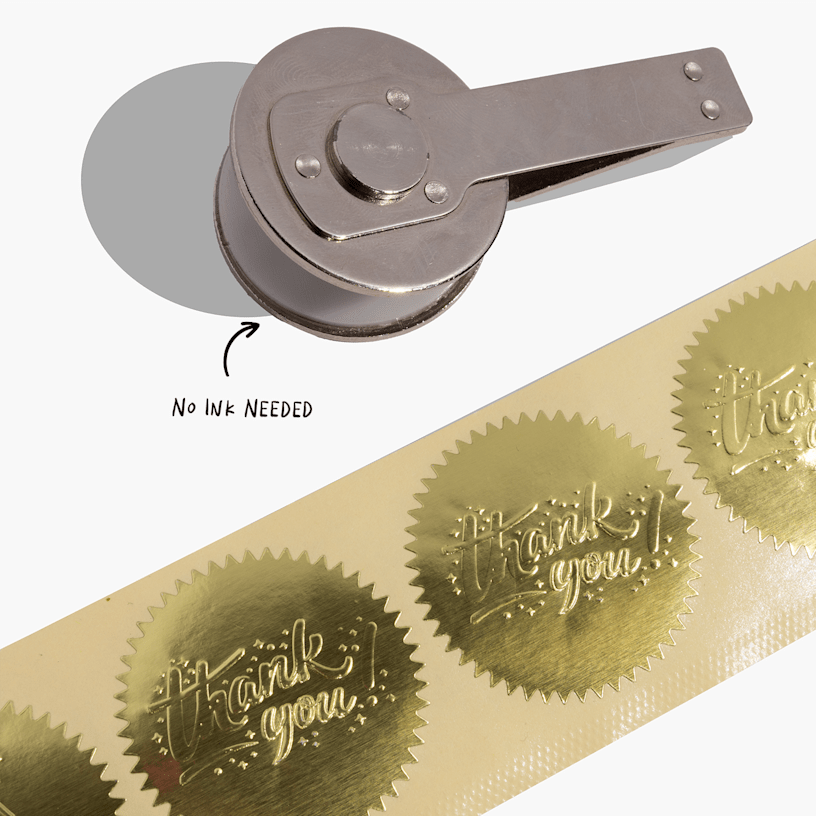
- No ink needed
- Recommended paper thickness: 100 gsm
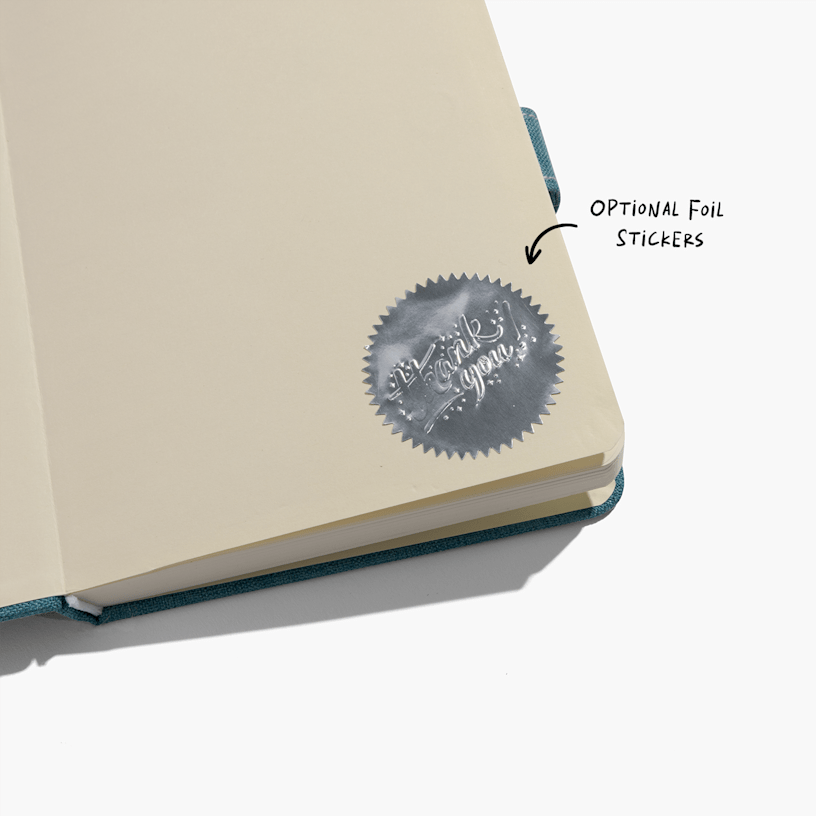
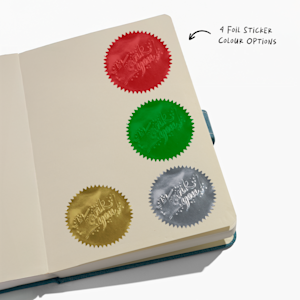
- Optional foil stickers available in 4 colours
Make a lasting impression
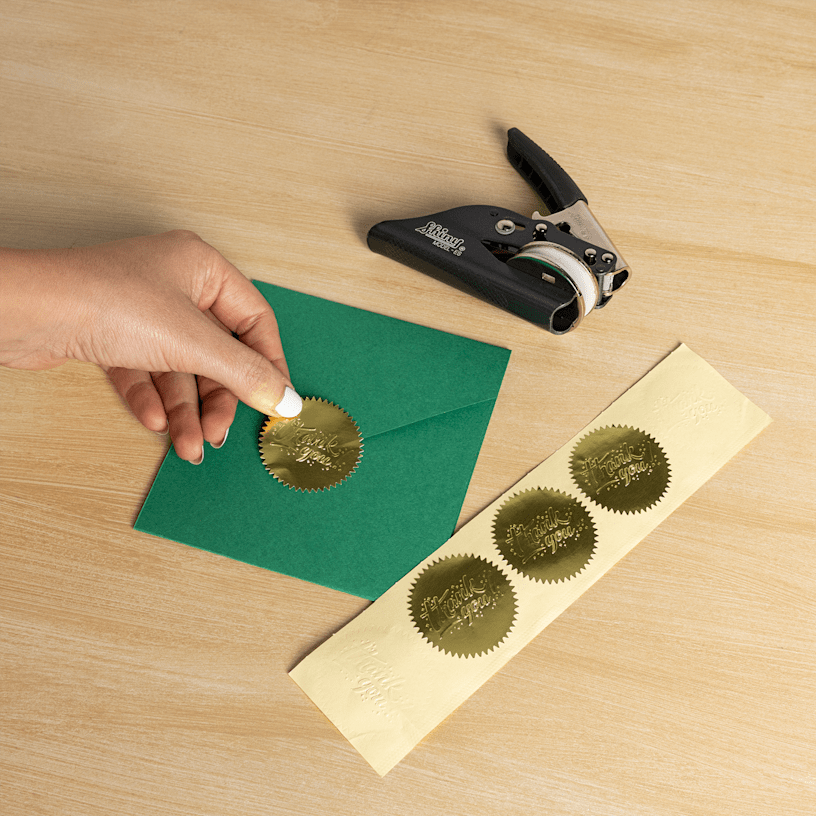
Want to make things official, the old-fashioned way? Our embosser stamps have you covered. Instead of ink, they leave crisp, raised impressions – which means no fading or smudging. Just line up the insert, sandwich your paper (or stickers) between the plates and get to stamping. You’ll be all set to show customers that you’re the real deal.
Versatile & customisable
Our 40 mm seal embossers cover a wide range of needs. From certificate seals to school awards, custom logo embossers make authentication quick and easy. For a more professional look, you can even pair your stamps with optional foil stickers available in four striking colours. For step-by-step instructions on how to use your embosser stamps, check out our FAQs.
Easy to design
Ready to start creating your embosser stamps? First, upload your design and add custom touches like your logo, monogram or school crest. Once you’re happy with your design, we’ll take care of the rest – professionally packaging and delivering your order. Your personalised embossers will arrive looking polished, professional and ready to impress.
Our stamp is perfect for embossing different types of paper. For best results, we recommend a paper thickness of 100 gsm.
Yes, you can add your logo or monogram to give your library (or to-read list) a signature touch.
Yes, you can customise your stamp to perfection in our design studio.
- Lift up the handle and take out the silver embosser insert.
- Slot the insert into the middle compartment, until you hear a clicking noise.
- Take your blank seal and align it with the plate of the insert – with the coloured side facing up.
- Press down the handle to create your embossed seal.
- Peel off the adhesive backing and stick it to your preferred surface.
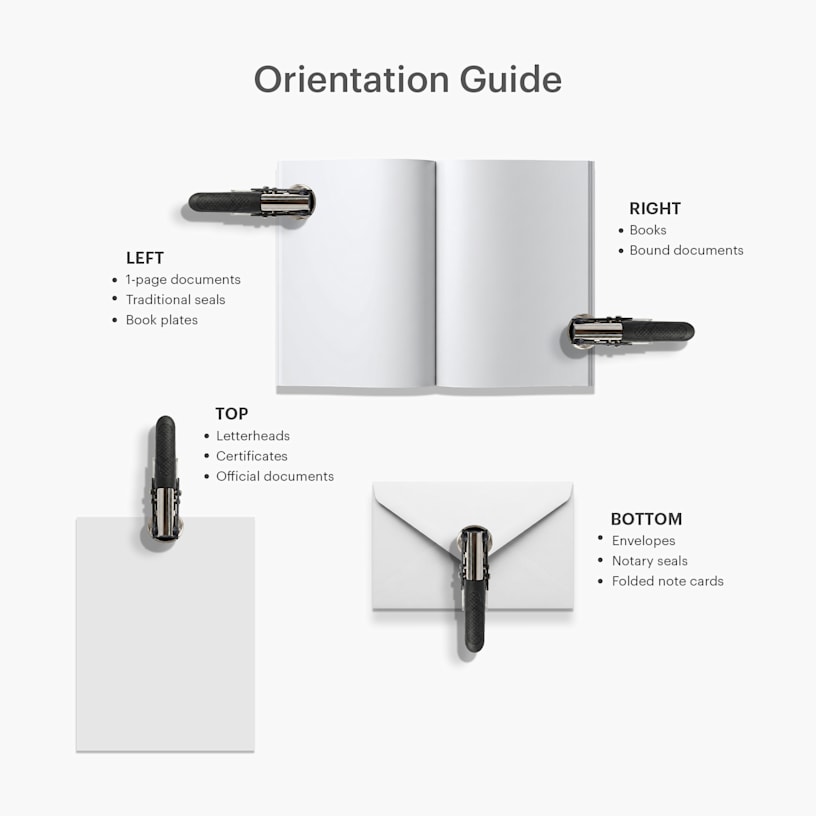
It depends on how you're using your embosser stamps:
-
Top Orientation
The design aligns with the top edge of the paper.
Used for: letterheads, certificates, and official documents. -
Bottom Orientation
The design aligns with the bottom edge of the paper.
Used for: envelopes, notary seals and small items like business cards. -
Left Orientation
The design aligns with the left edge of the paper.
Used for: single page documents, traditional format seals and book plates. -
Right Orientation
The design aligns with the right edge of the paper.
Used for: books and other bound documents where the left side is inaccessible.
If you opt for them, 100 foil stickers will be included with your order.