Create your Brand Kit
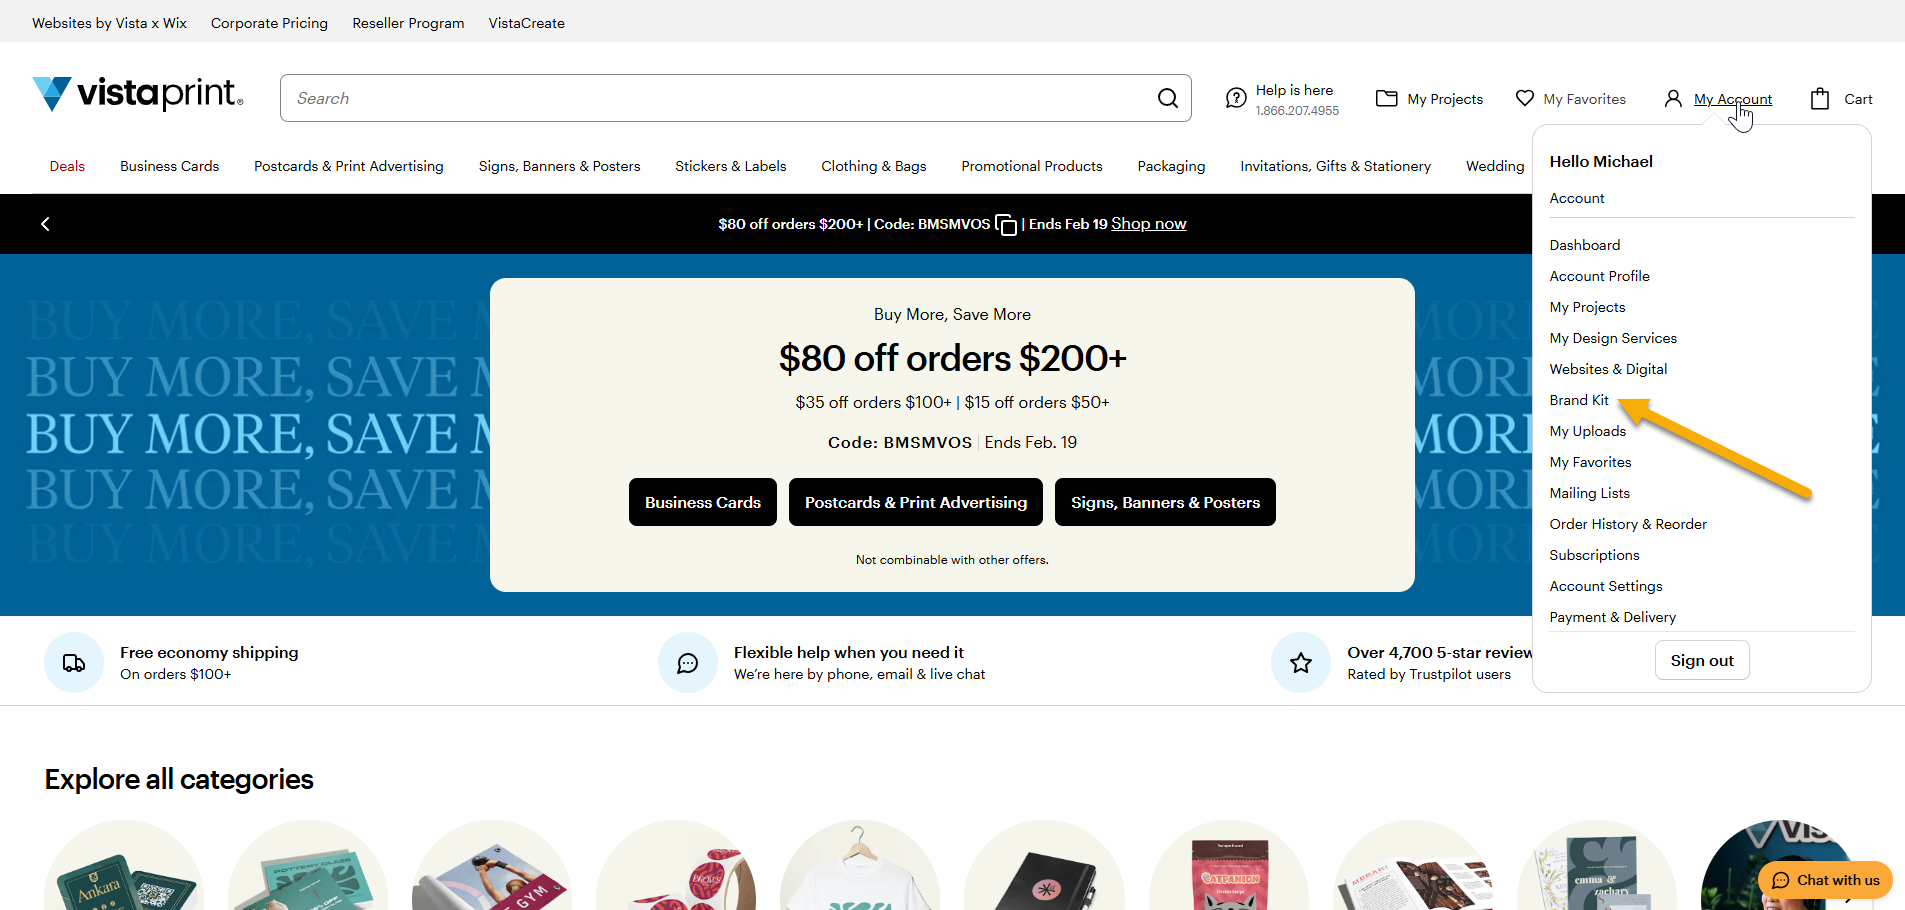
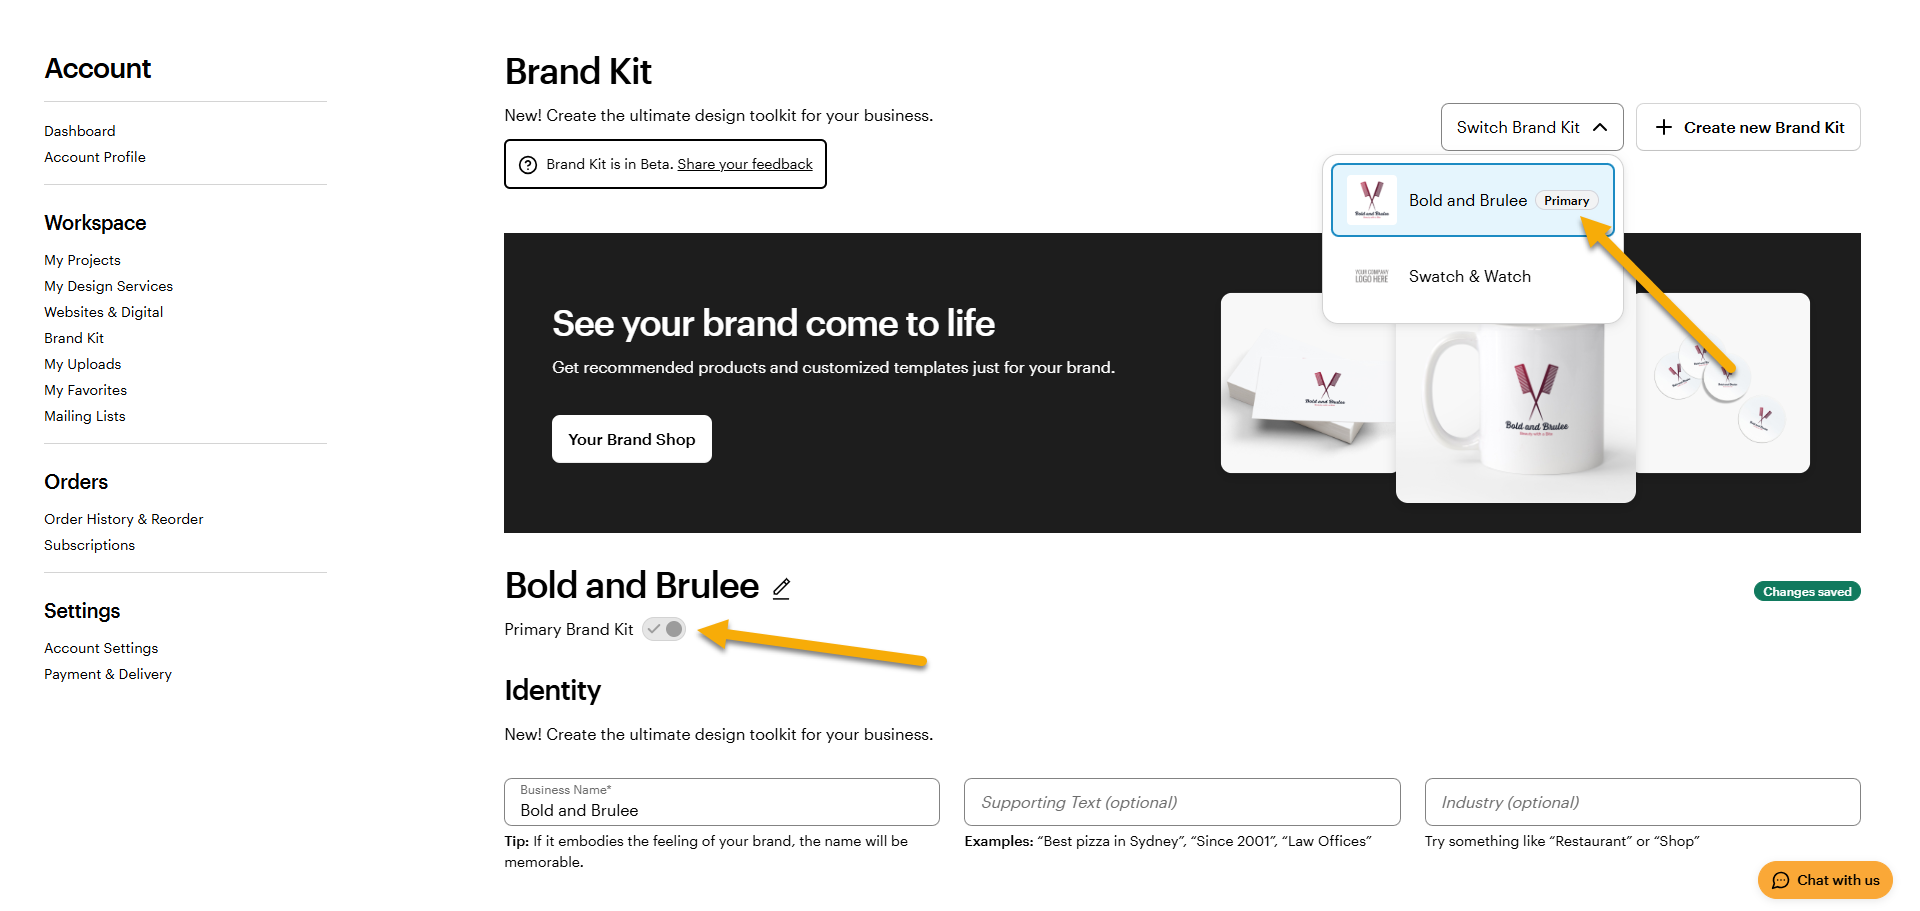
Go to your Brand Kit page
Go to My Account and select Brand Kit.
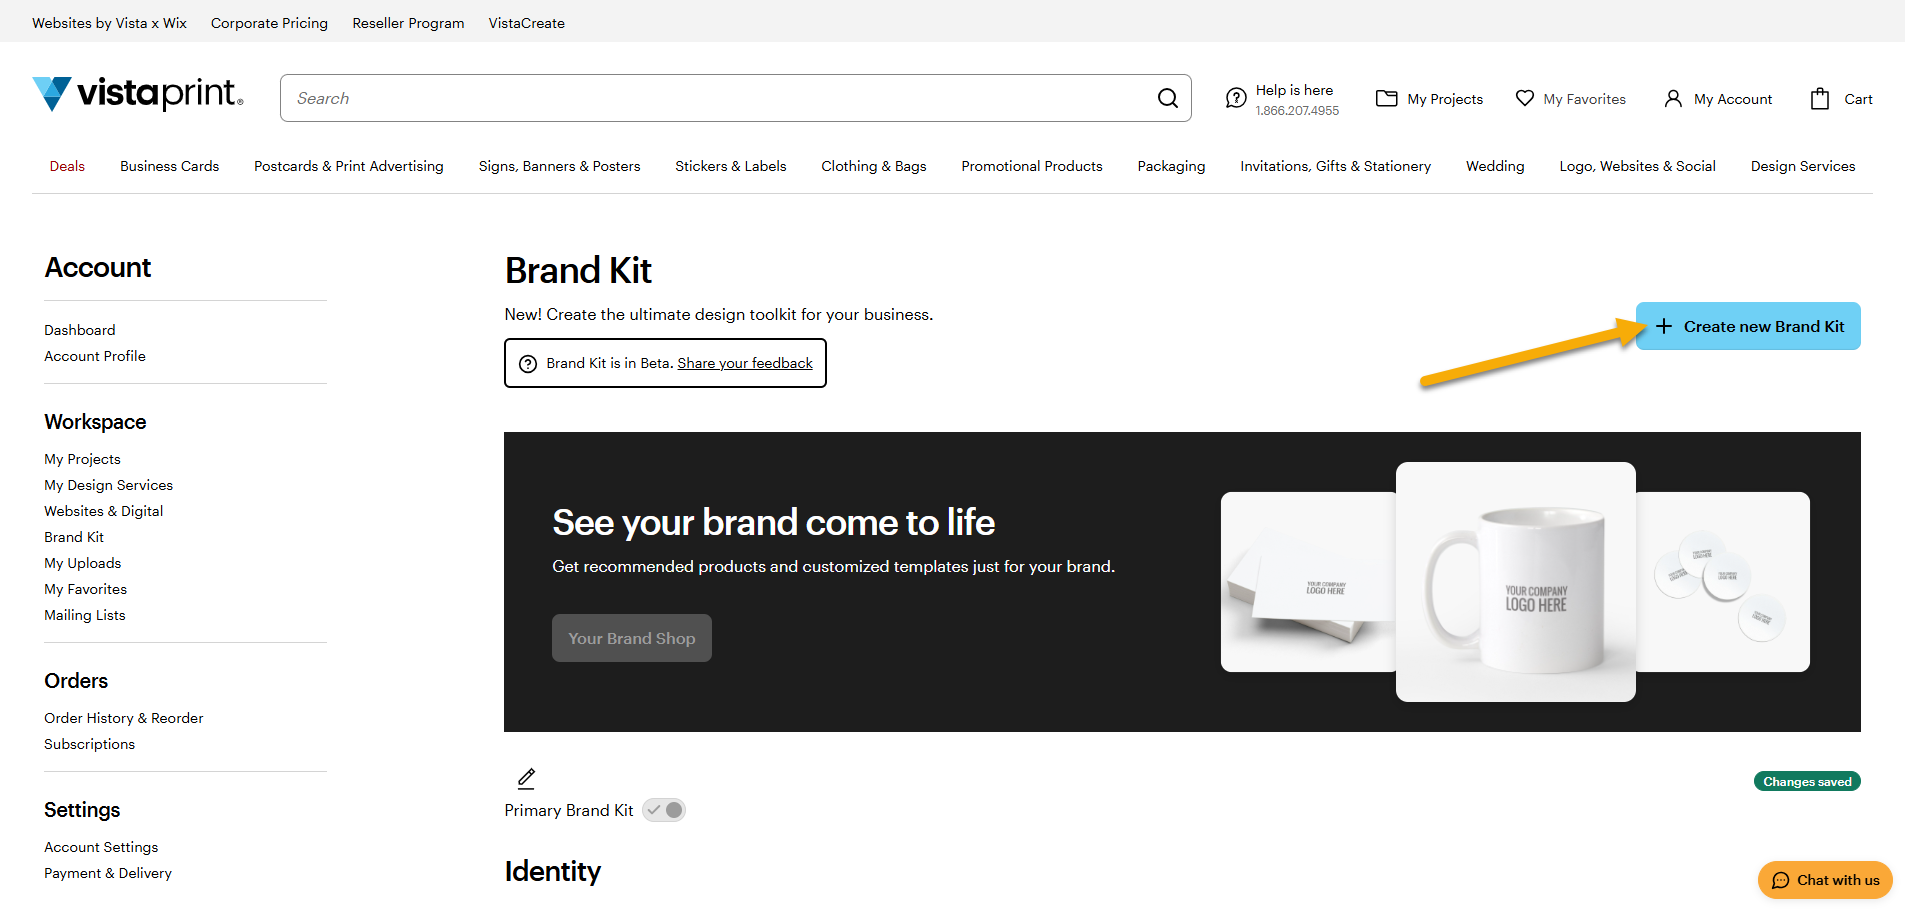
Select Create new Brand Kit
This opens the Brand Kit set-up, where you can add your brand assets.
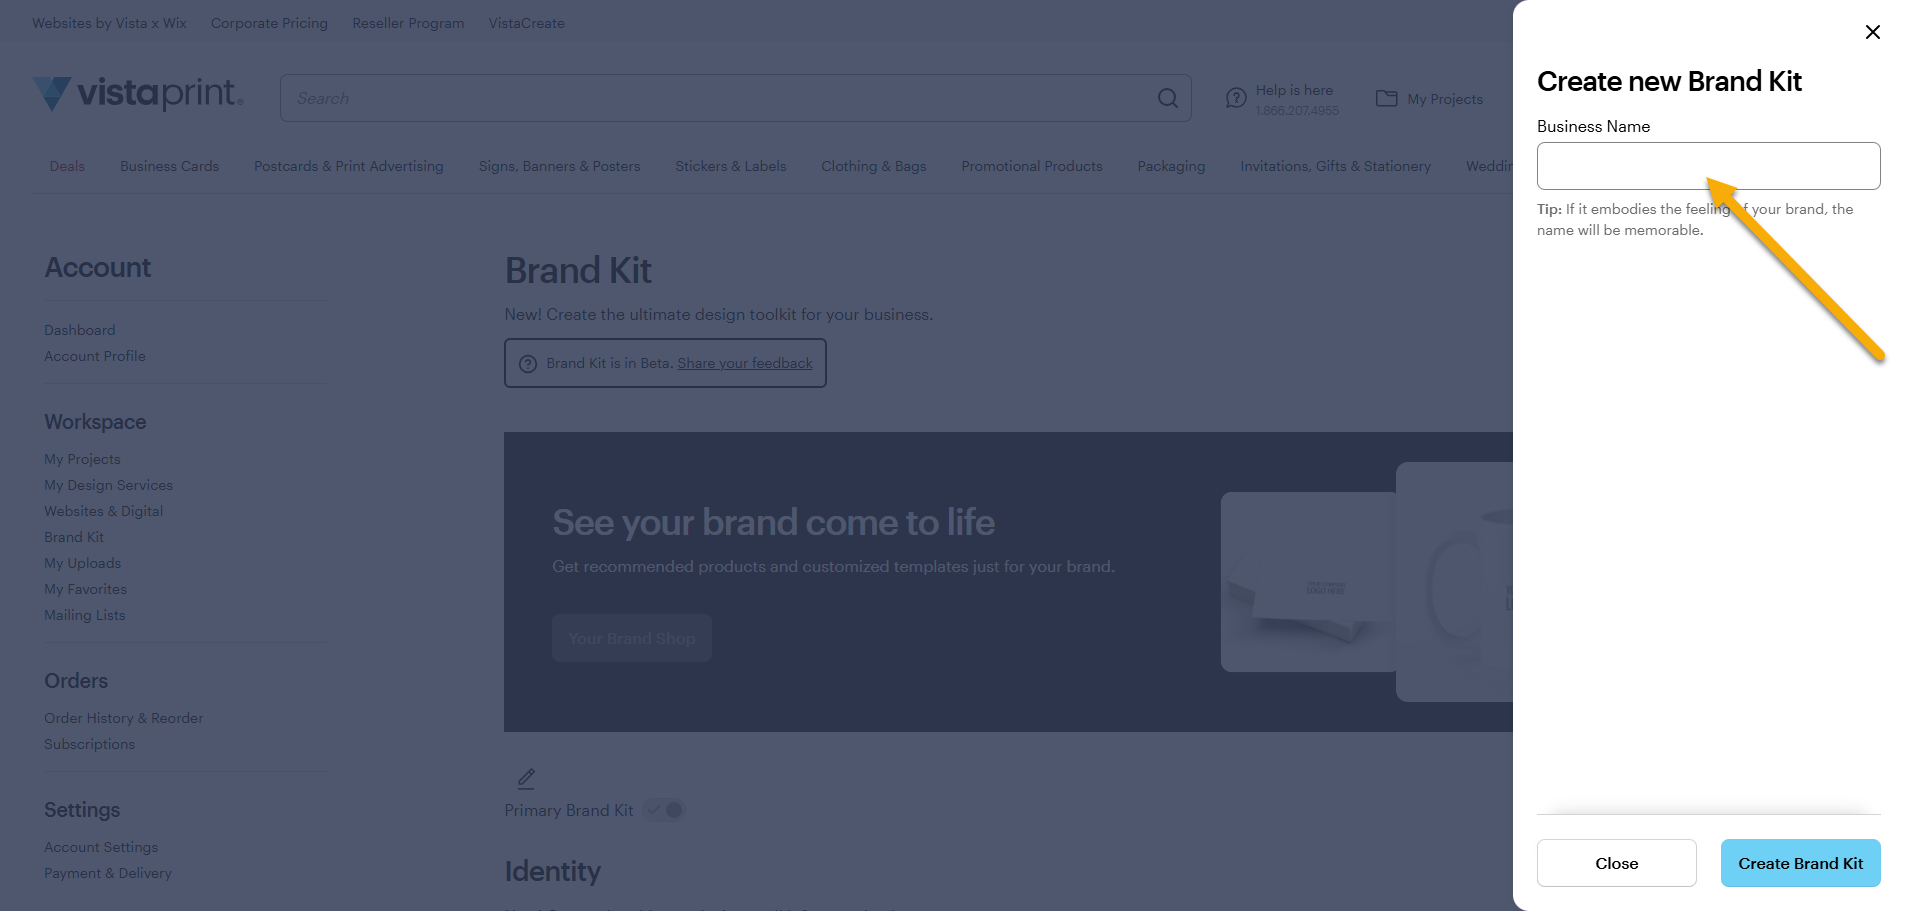
Enter your business name
When you've added your business name, select Create Brand Kit.
Your Brand Kit is now ready for use. You can now:
Enter general information about your brand, such as your business name, slogan or industry
Upload your logo or create one with our Logomaker
Choose your brand colours
Choose your brand fonts
Set up your brand elements
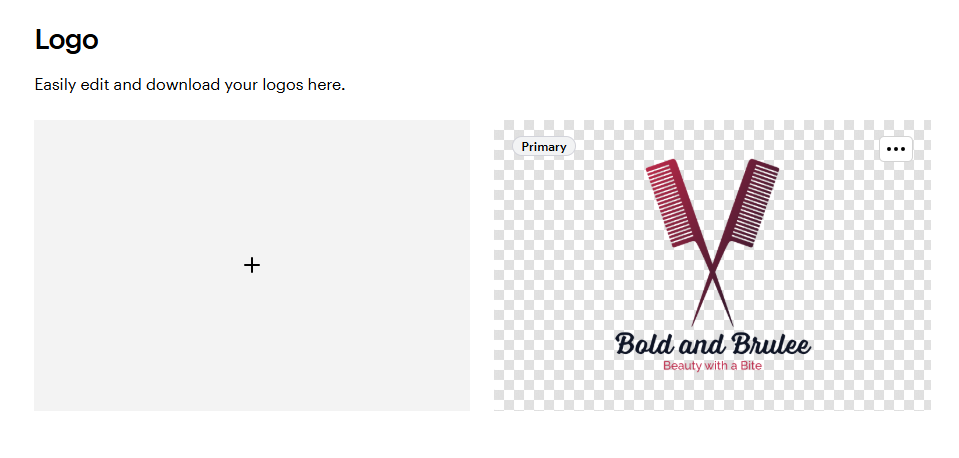
Add your logo
Upload your business logo or create one with our Logomaker tool.
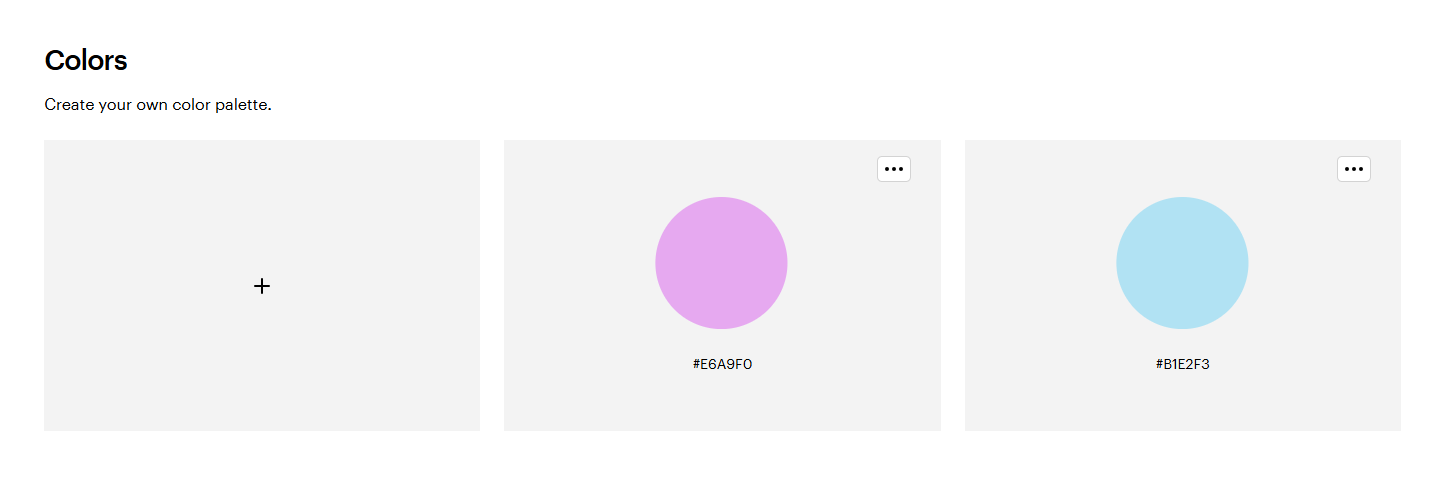
Add your brand colours.
Enter CMYK codes or choose from swatches or custom colours.
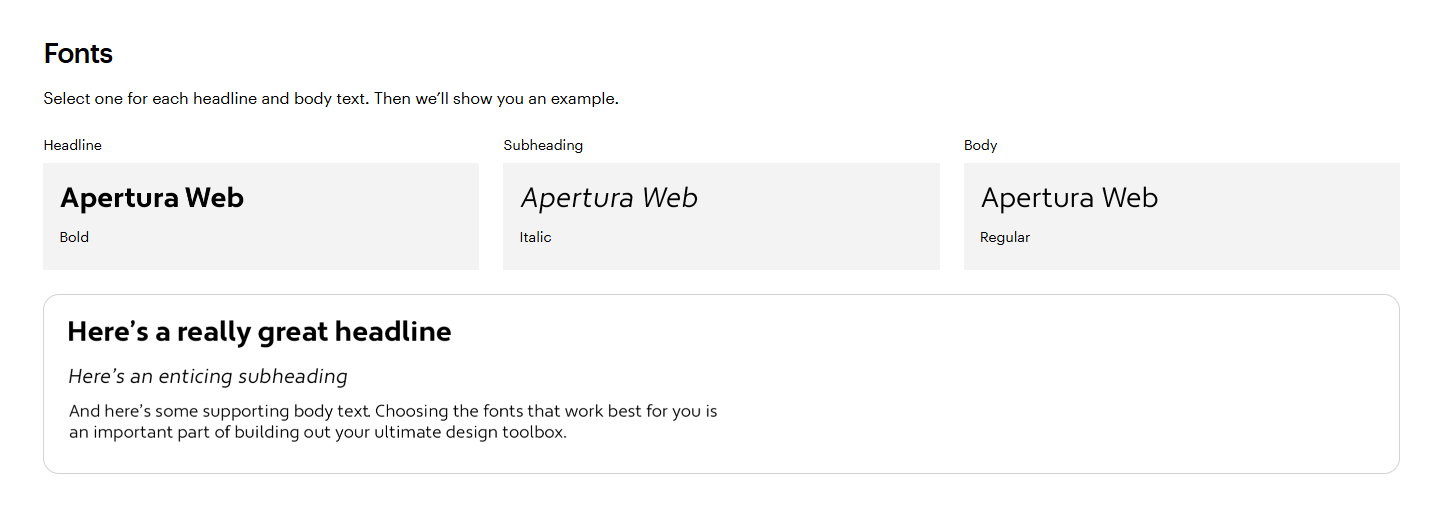
Add fonts
Add up to three fonts for headlines, subheadings and body text. You can use the same font for all or choose different ones and select different font weights.
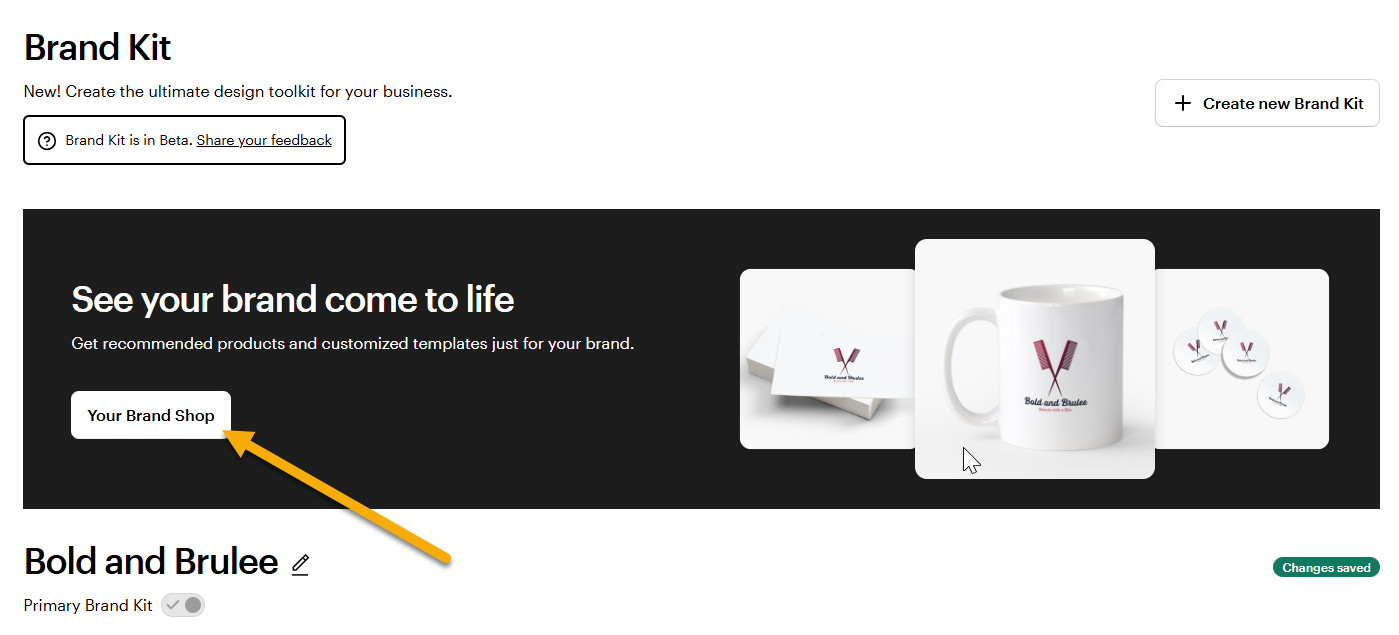
Visit the Brand Shop
When you've created your Brand Kit, you can bring your brand to life by visiting your own personal Brand Shop. Here, you’ll find products that already match your brand identity and customise them to fit your needs.
Apply your Brand Kit
Once your Brand Kit is set up, you can quickly apply your branding when editing a design.
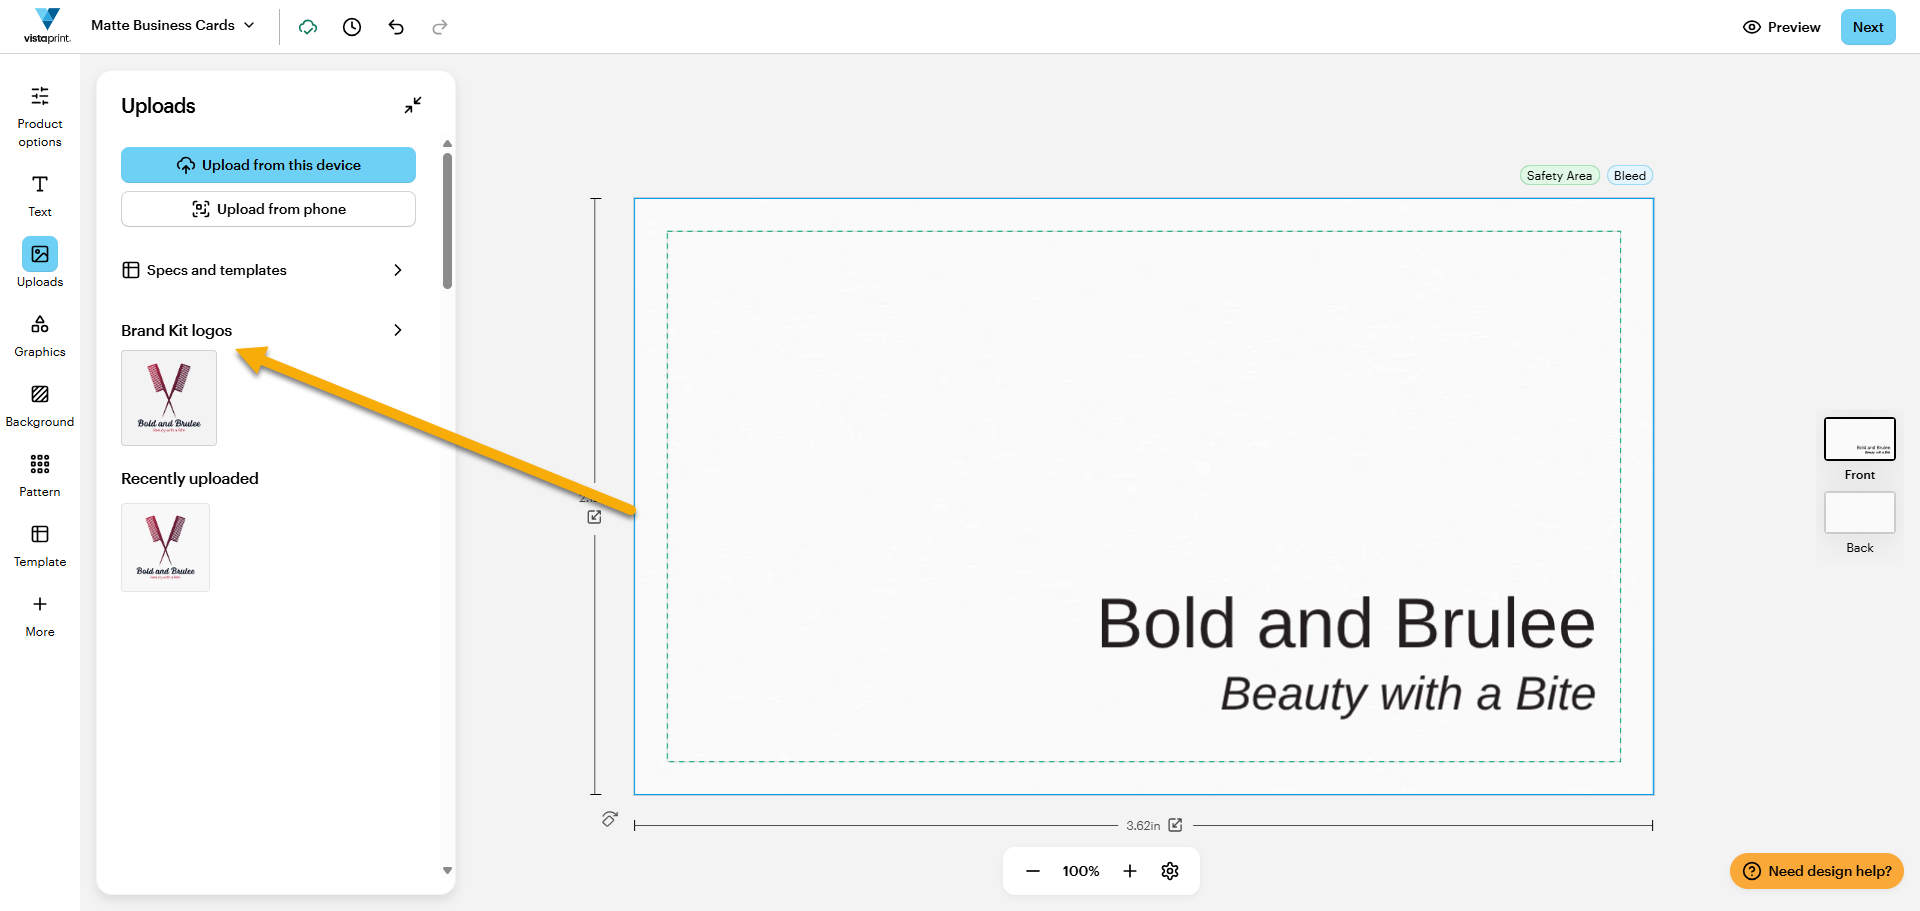
Apply your logo
Select upload
In the studio, select the upload tab.
Select your logo
We'll show your brand kit logos, select one to add it to your design.
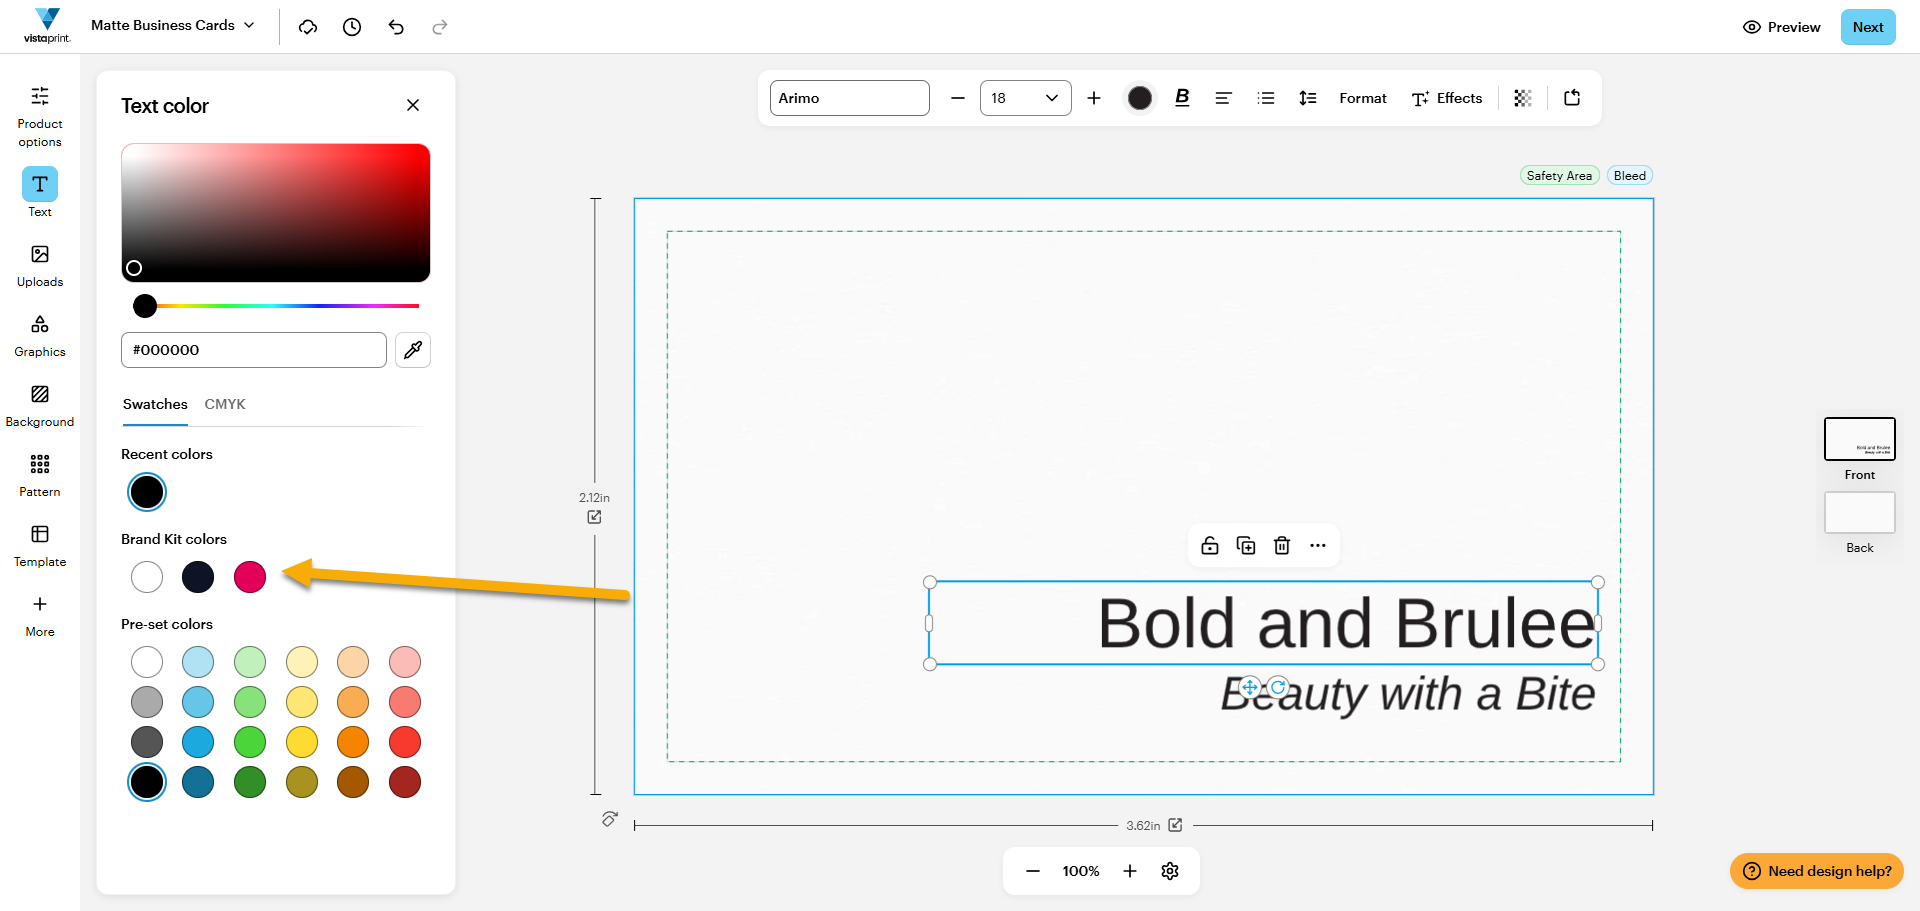
Apply your brand colours
Select a design element
In the studio, select a design element such as text or a shape.
Open the colour selection screen
Select the colour swatch to open the colour selection menu.
Select a colour from your Brand Kit colours
We'll show you your brand colours to make it easy match the exact shade every time.
Apply your brand fonts
Select any text field
In the studio, select a text field to edit it.
Select the font selection field
Select the name of the font to change the font.
Select your brand font
We'll show your brand fonts. Select one to change your text field to this font.
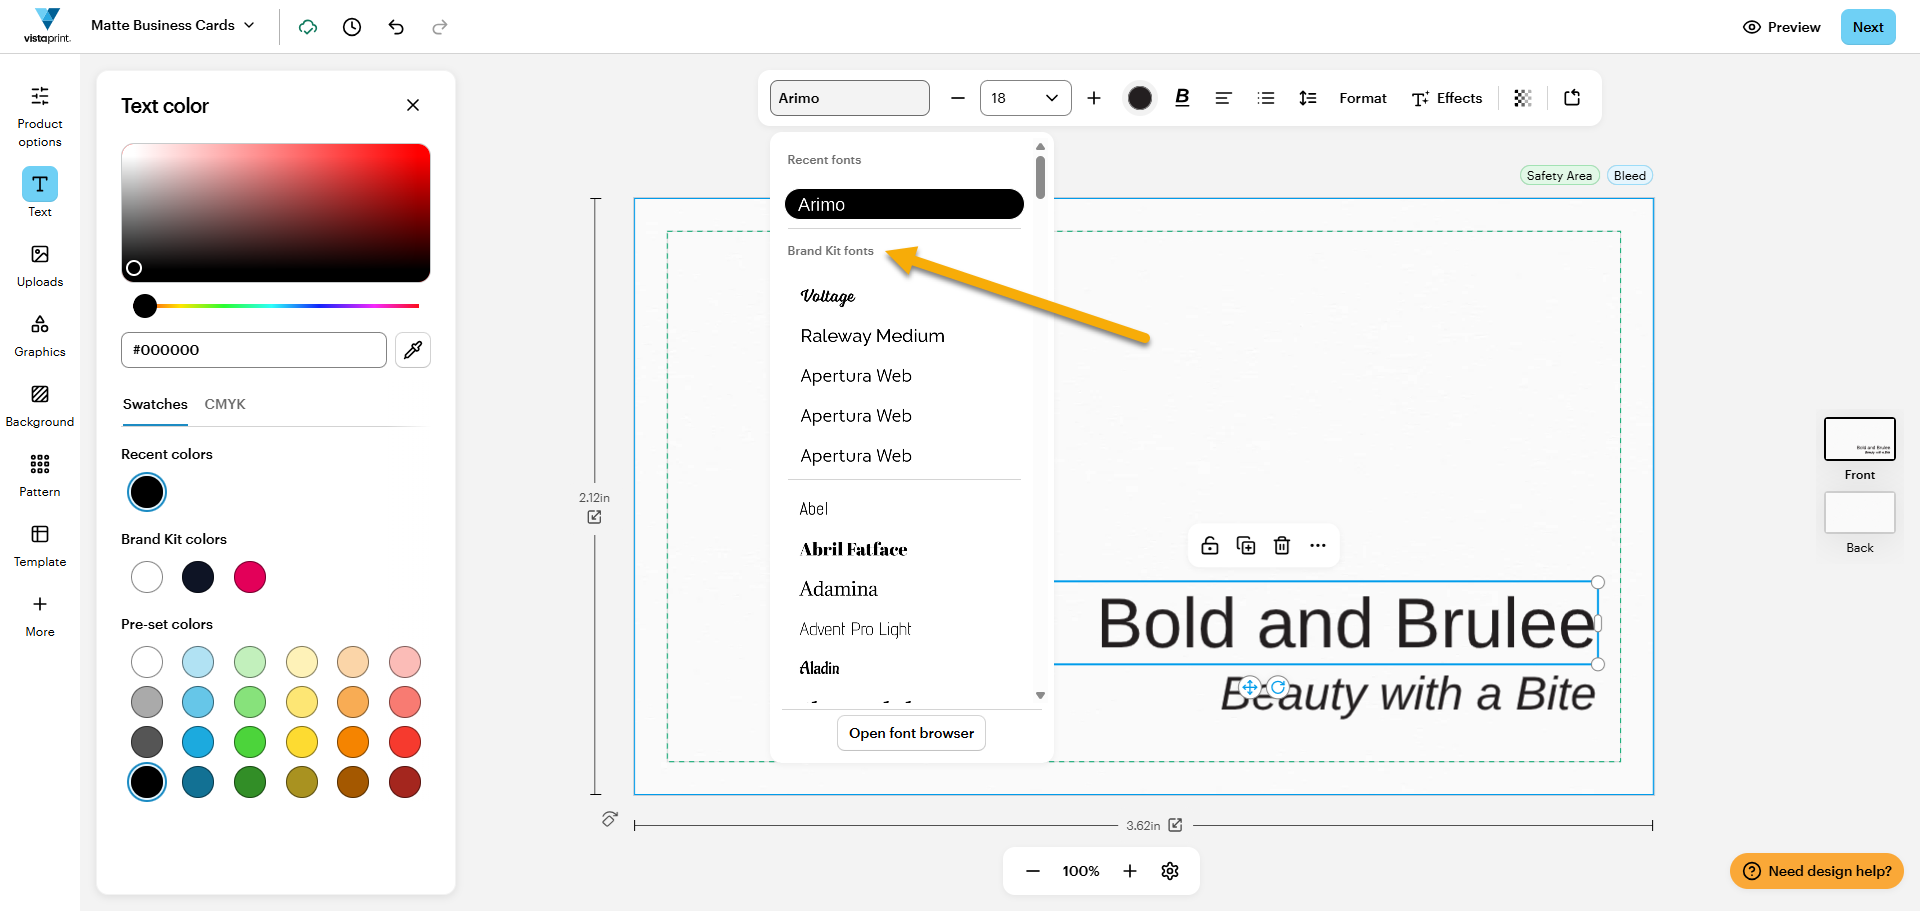
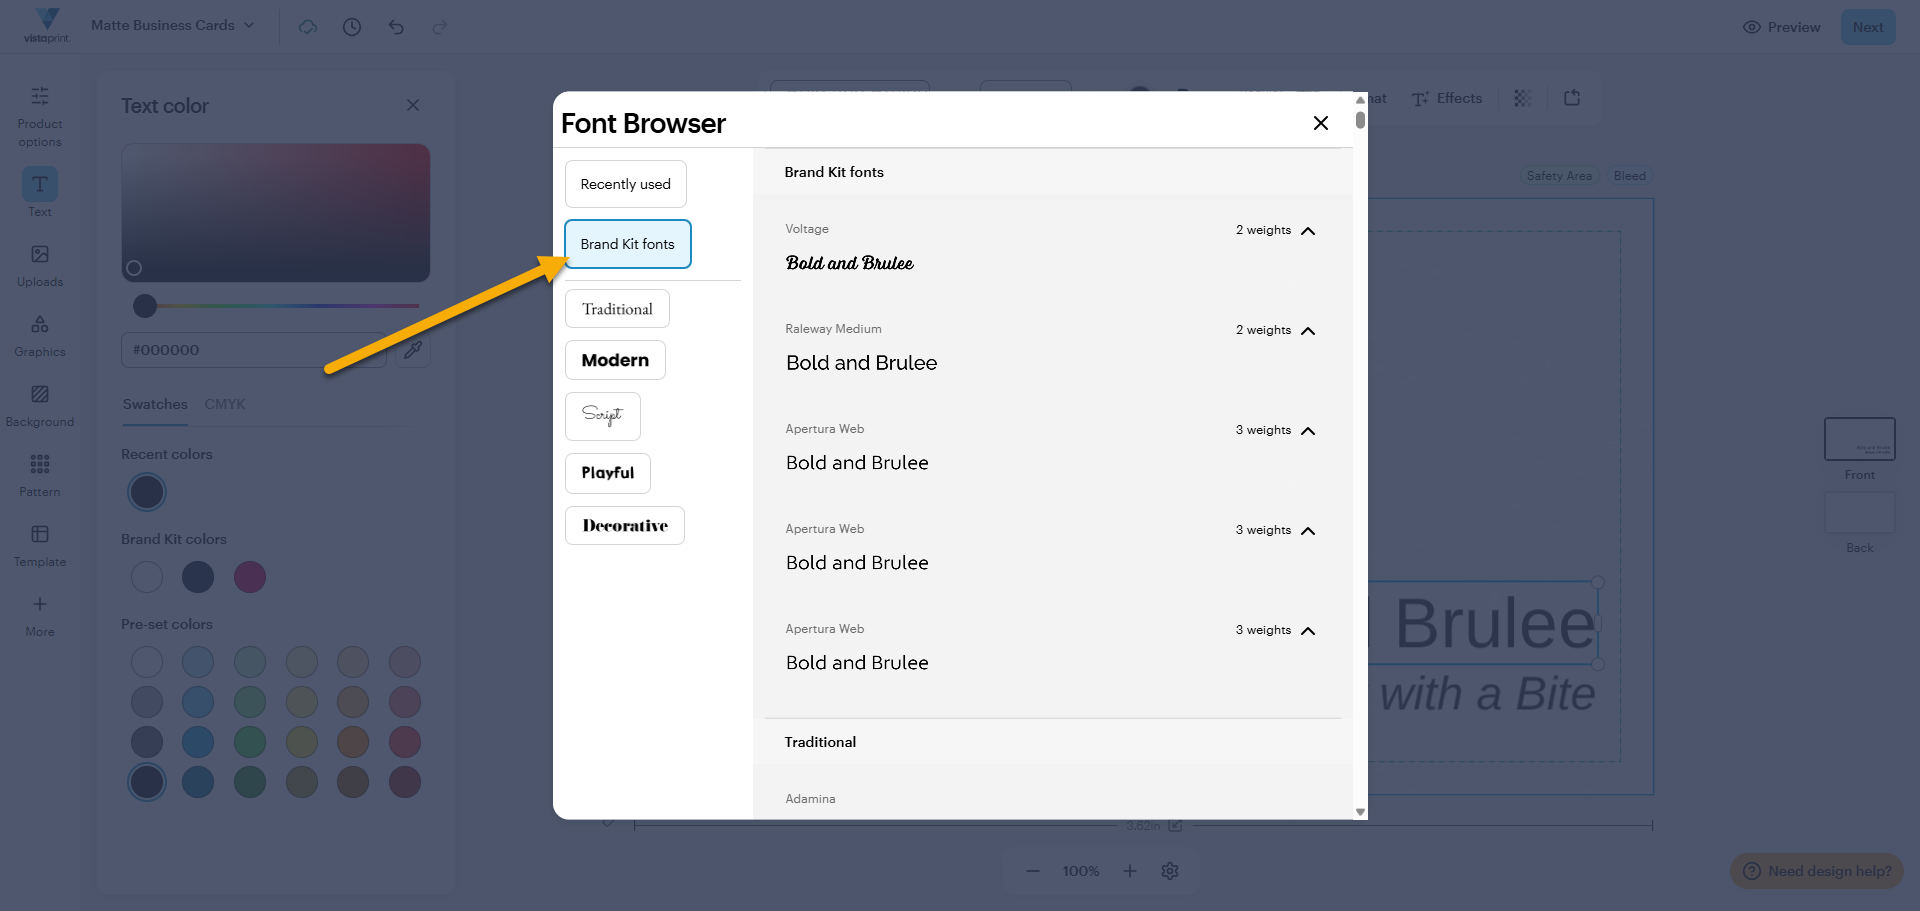
Optionally, you can open the font browser to see more fonts. Select a brand font from the font browser